During the months of May/June 2017, excavations were carried out at Tel Shiloh[1]. At the conclusion of the dig, conservation work[2] needed to be carried out on some walls that were in danger of deterioration or collapse.
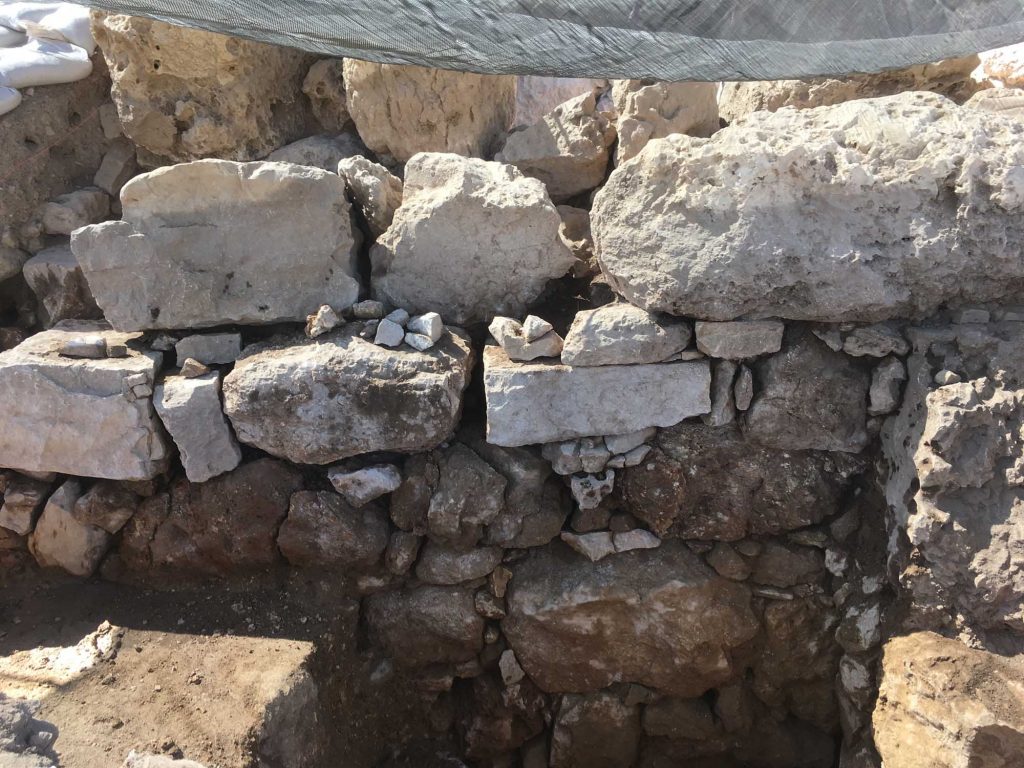
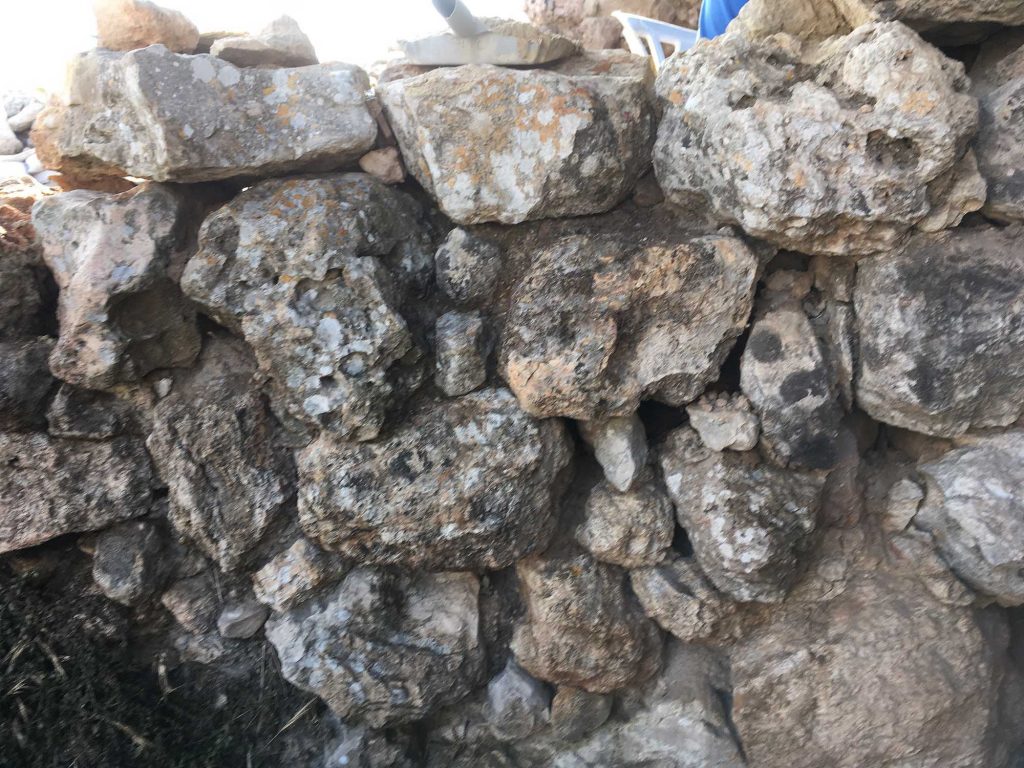
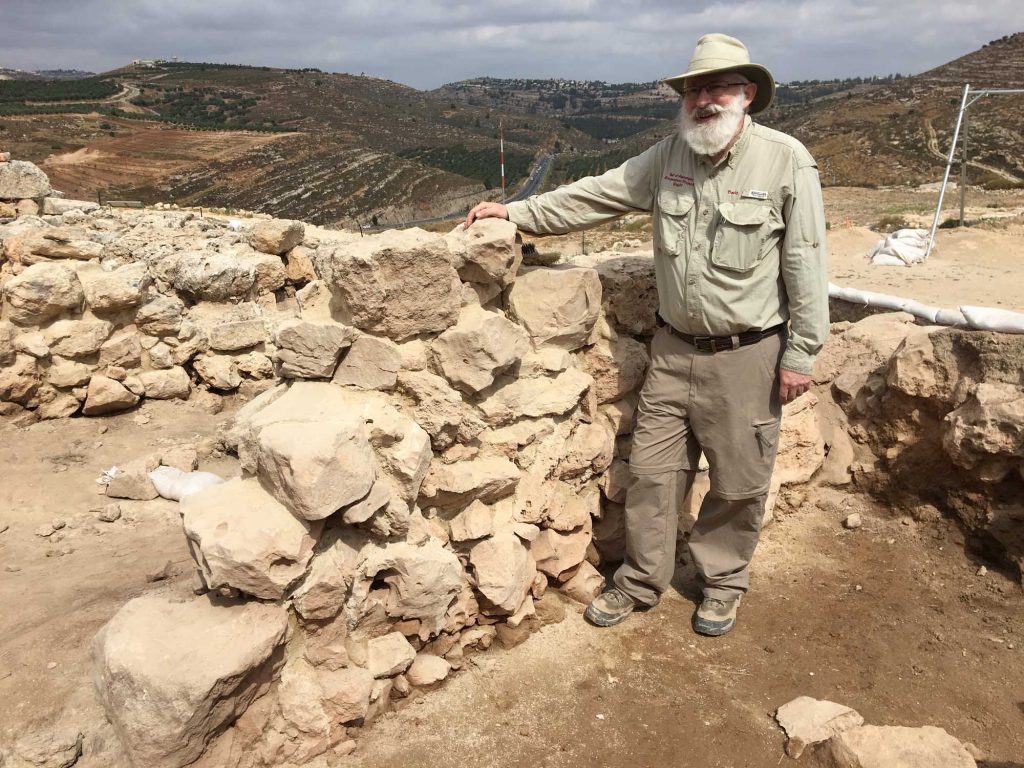
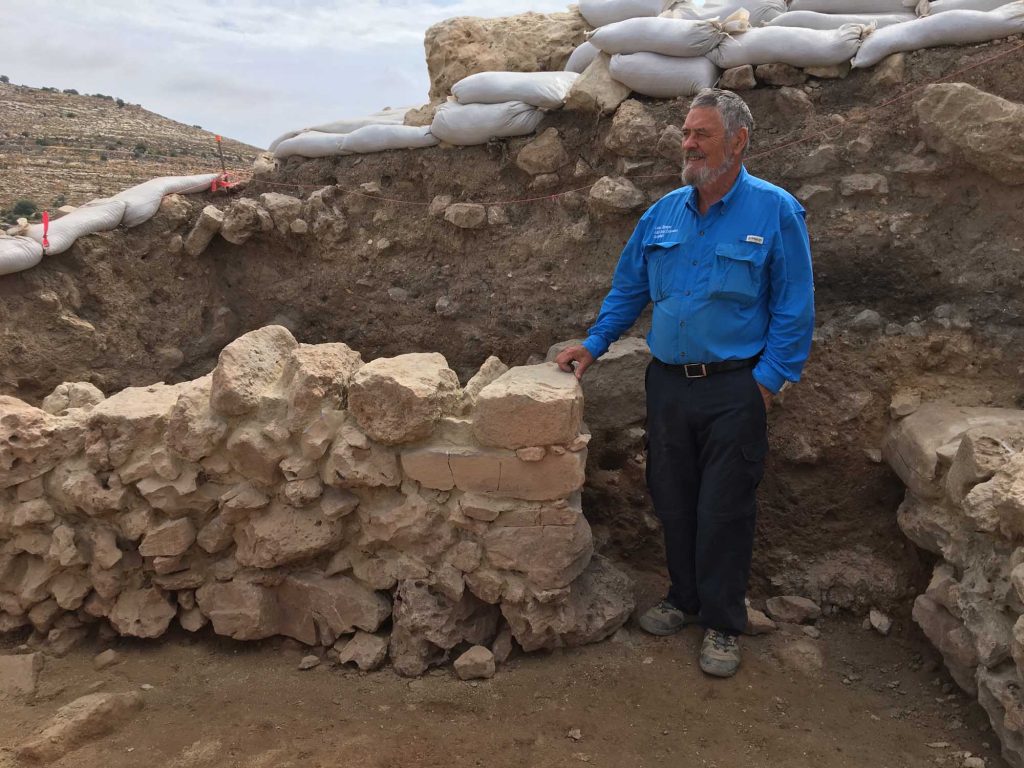
One section of the Middle Bronze Age city wall, W17 in Square AC-30, was selected for conservation. This wall was built of large ashlars, but in between these large stones were patches of small stones that needed to be consolidated (Fig. 1).
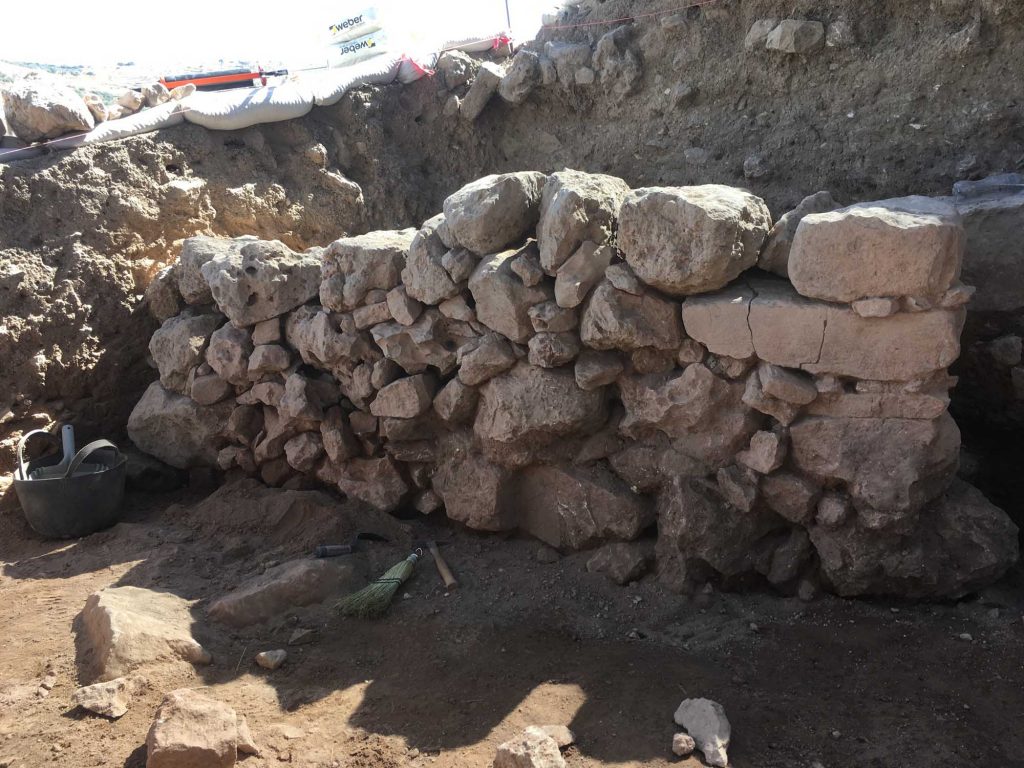
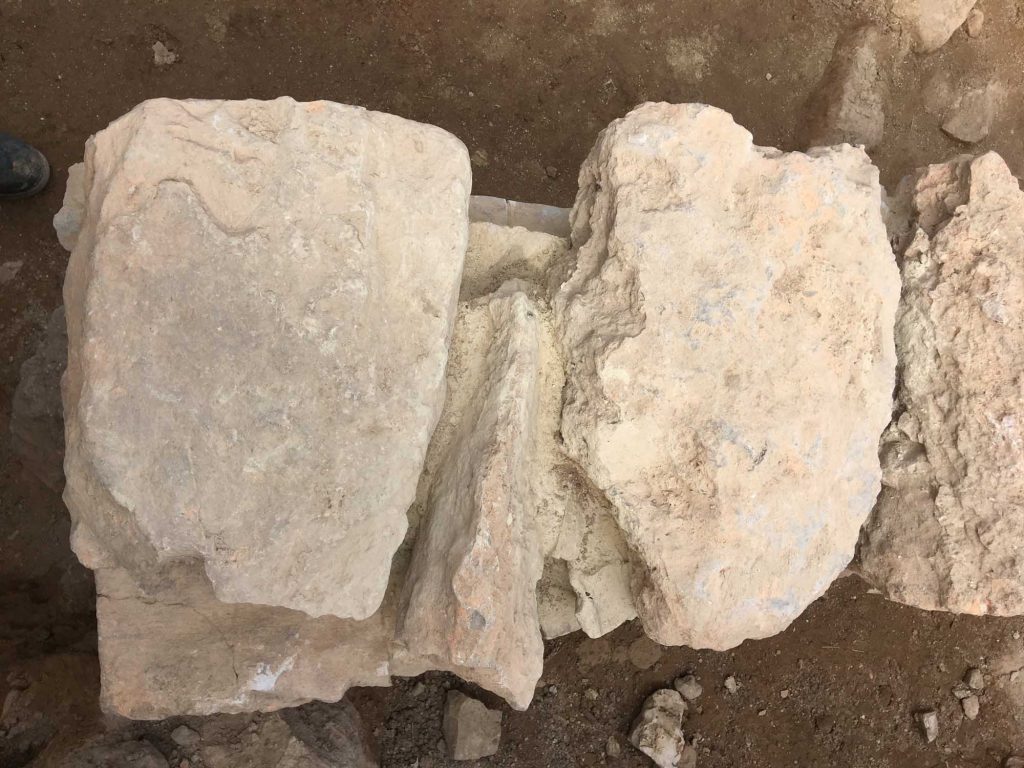
In addition, the walls belonging to MBA storage rooms in Square AE-30 were found to be in a poor state of preservation. The main conservation effort was therefore focussed on Walls 19, 20 and 21 (Fig. 2), and also on the westernmost wall of the MBA storerooms, in Square AD-30, that had been revealed in the Danish excavations (Fig. 3). These four walls formed two rooms that were interconnected by doorways.
Ancient walls were made by placing fieldstones at the interior and exterior faces. The core of the wall usually consists of small stones held together by a soil-based mortar (Fig. 4).
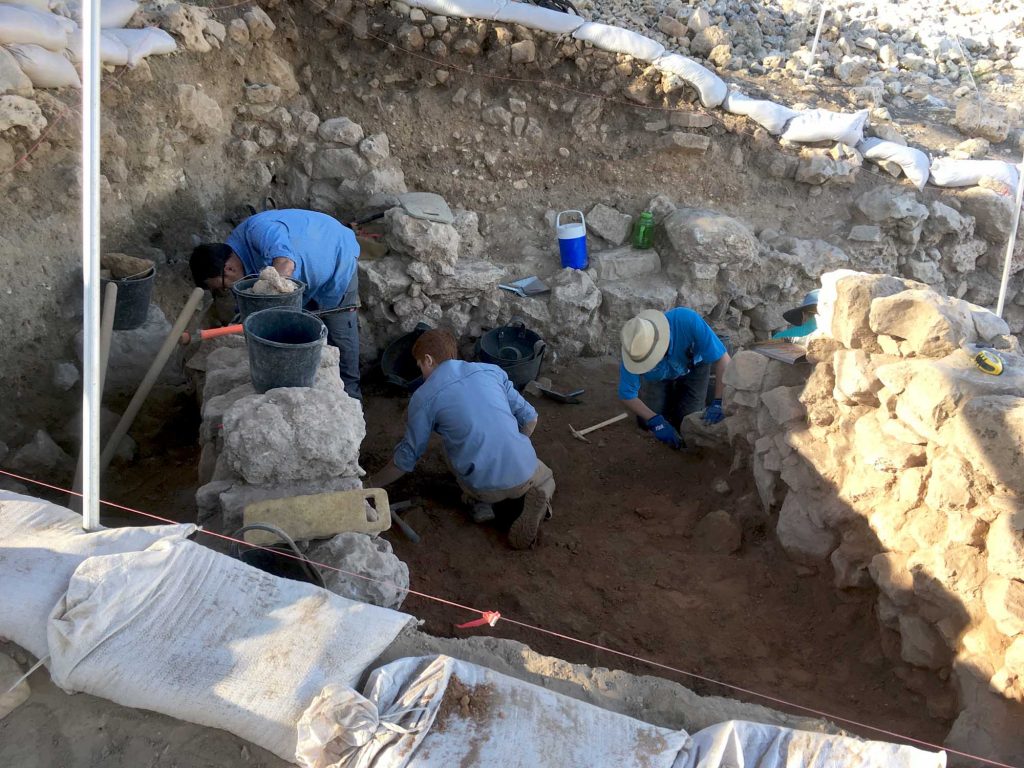
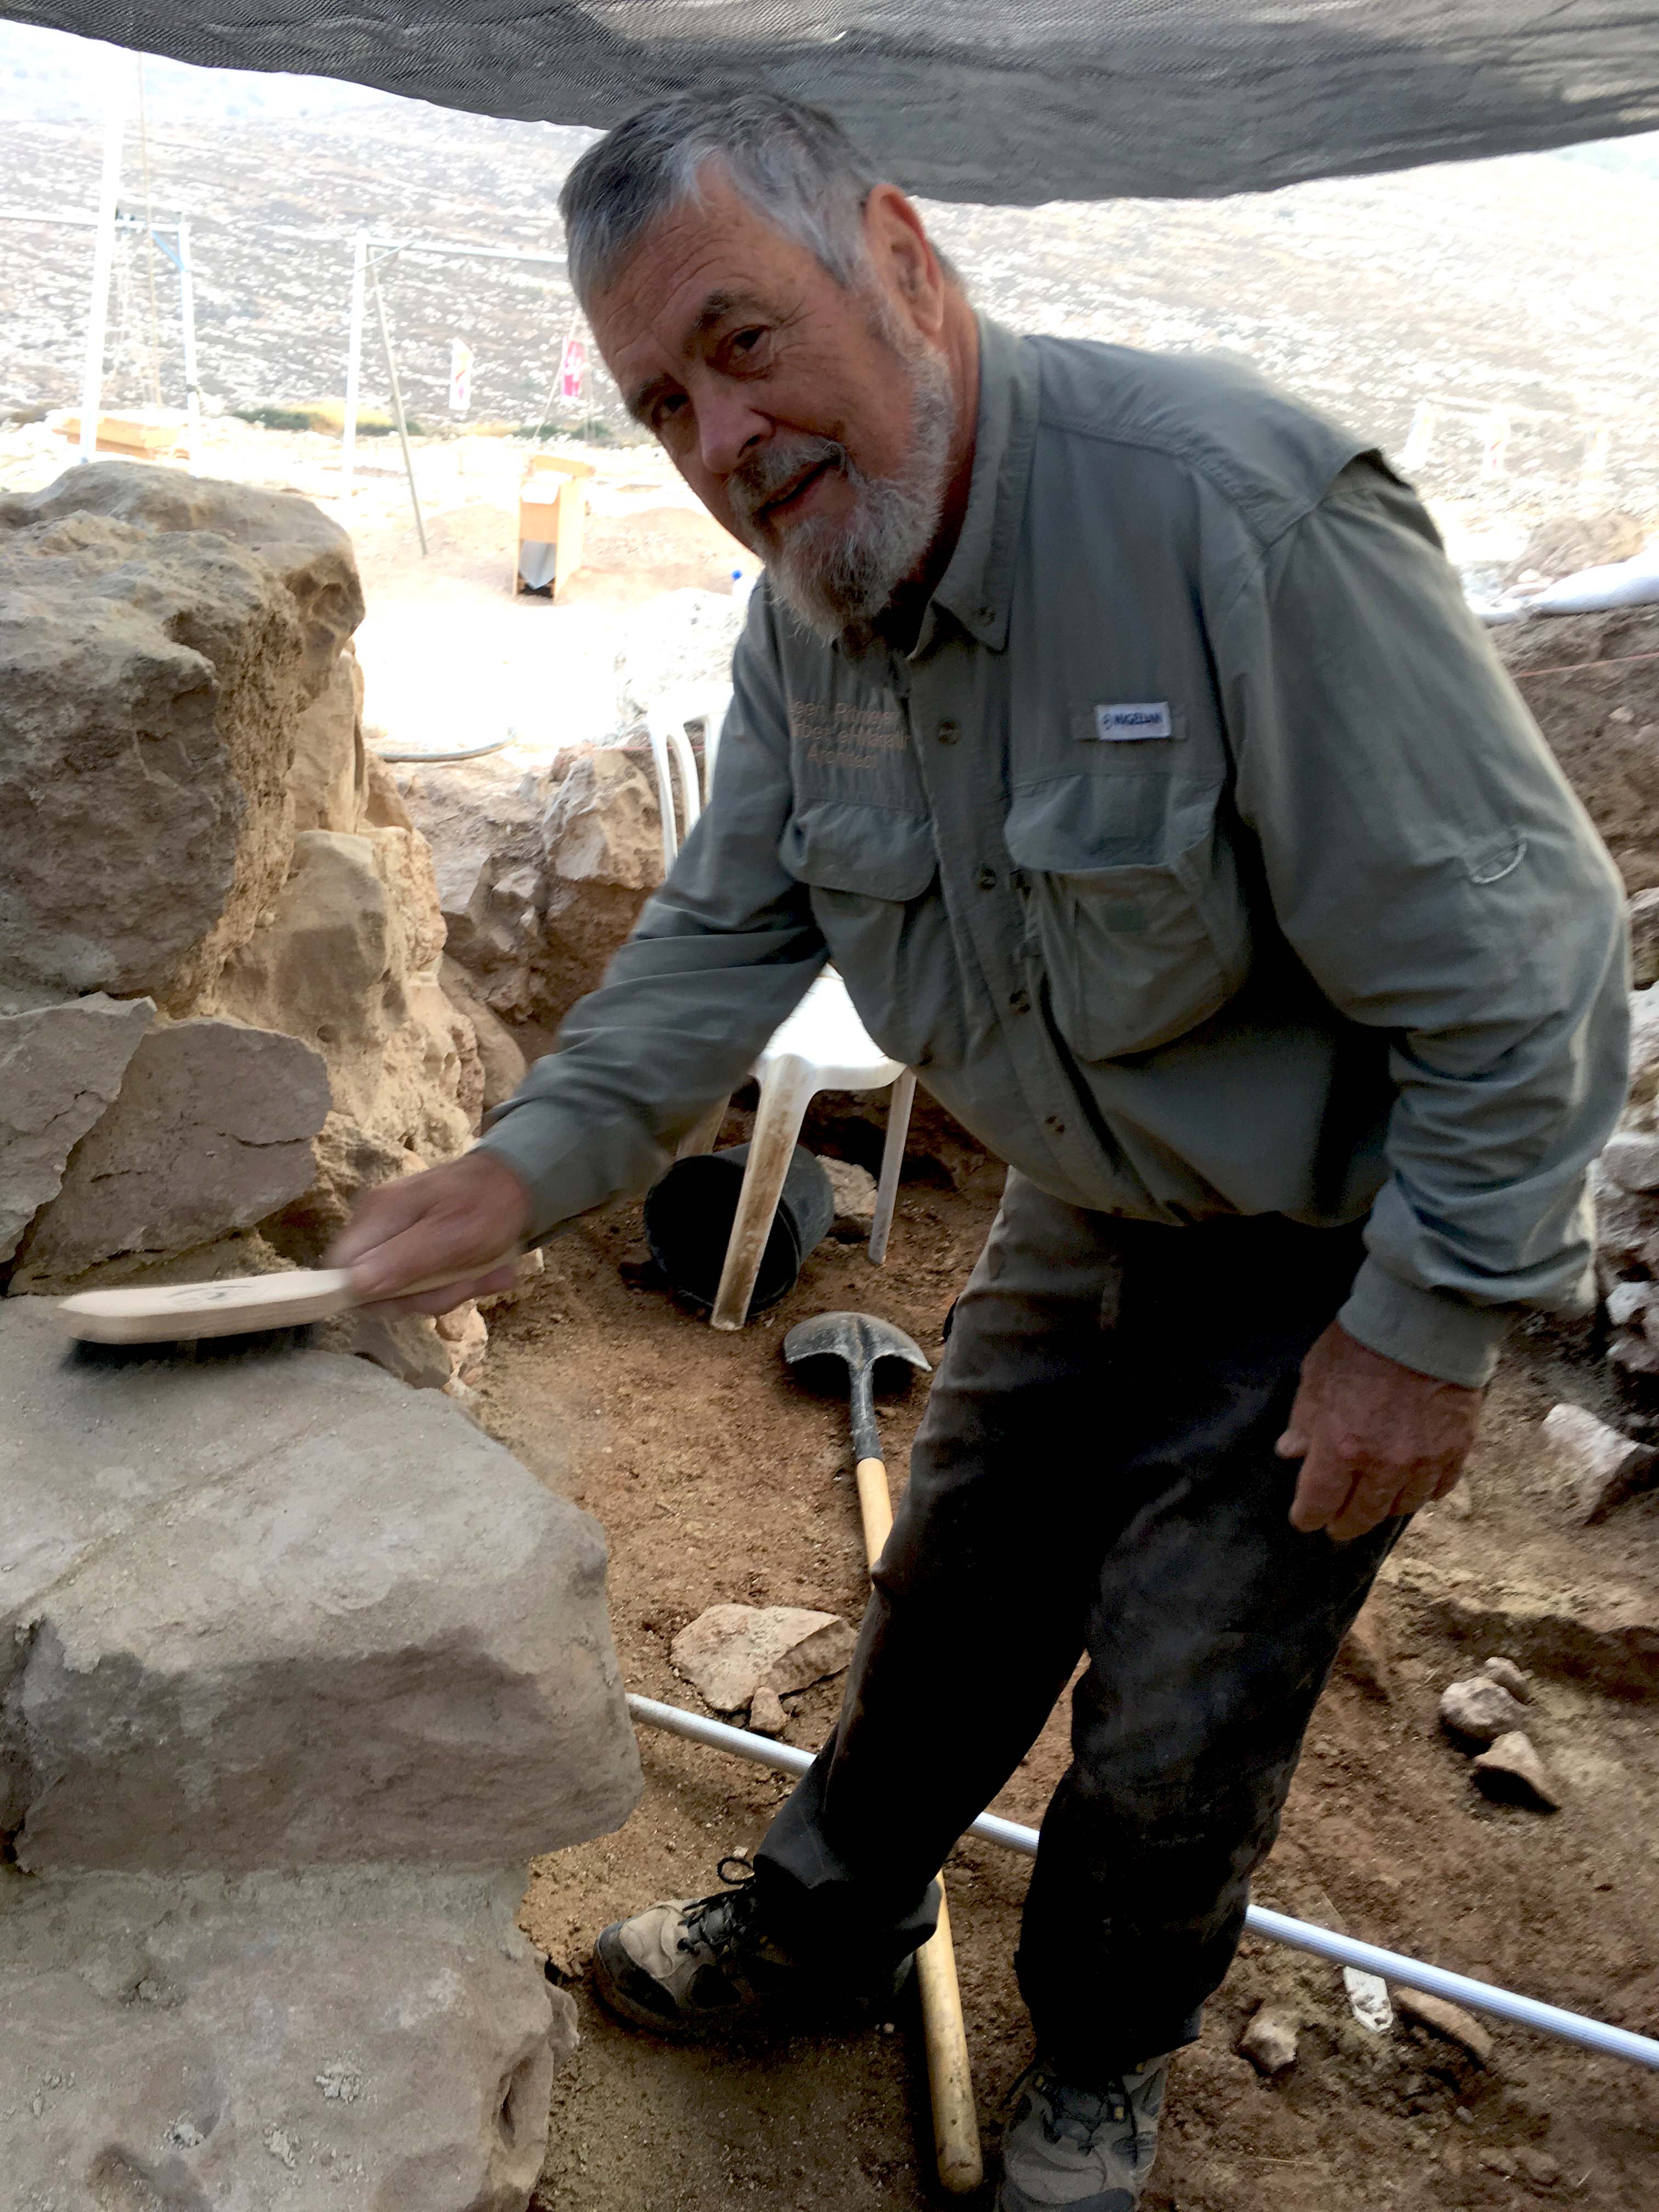
The basic process of conservation is first to remove all soil from between the stones with a small pick and brush (Fig. 5).
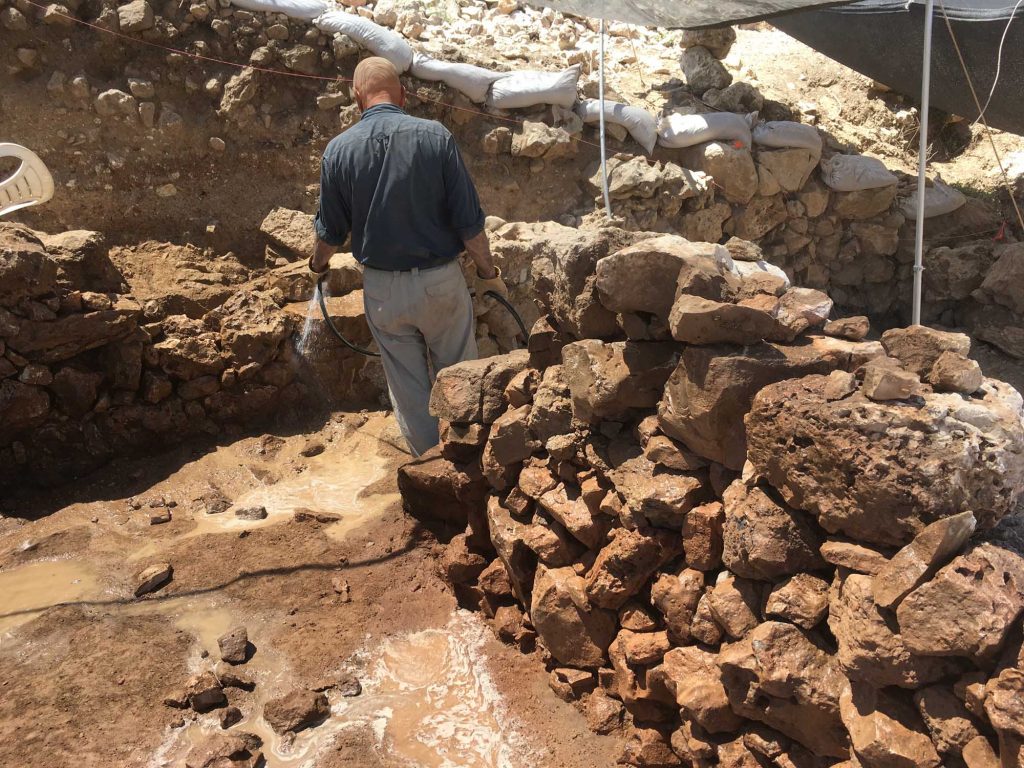
The remaining soil was then removed with a strong water jet (Fig. 6).
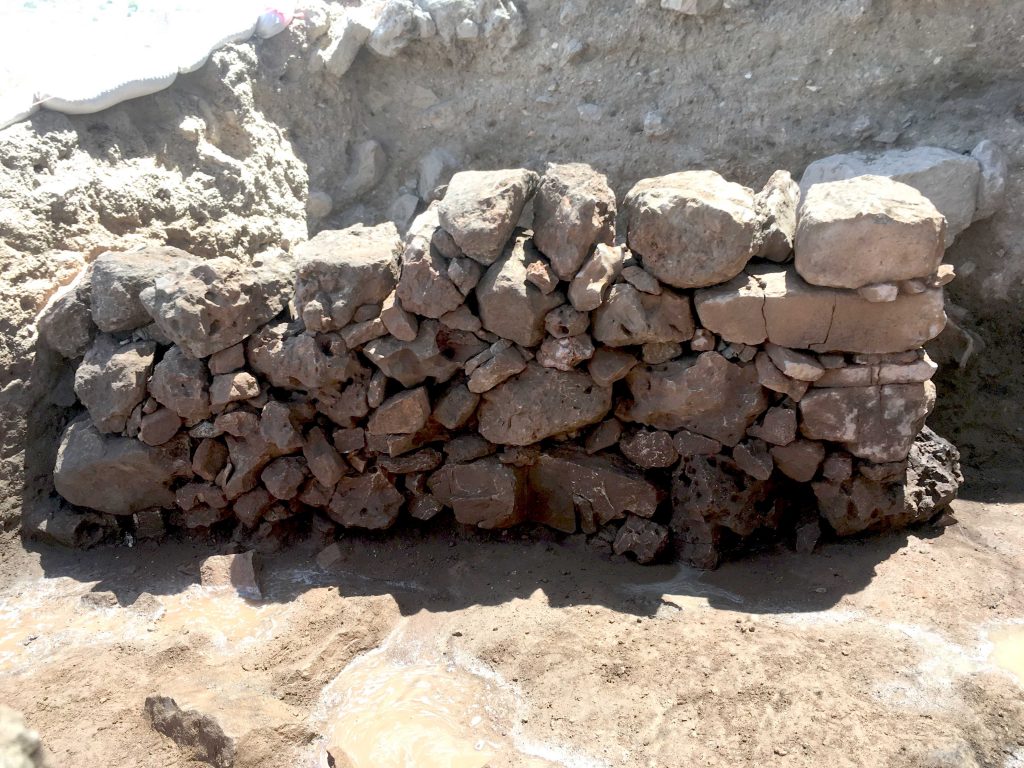
The latter made the walls dirty and therefore they needed to be cleaned by spraying water in between and over the stones. Only then were the walls ready for conservation (Fig. 7).
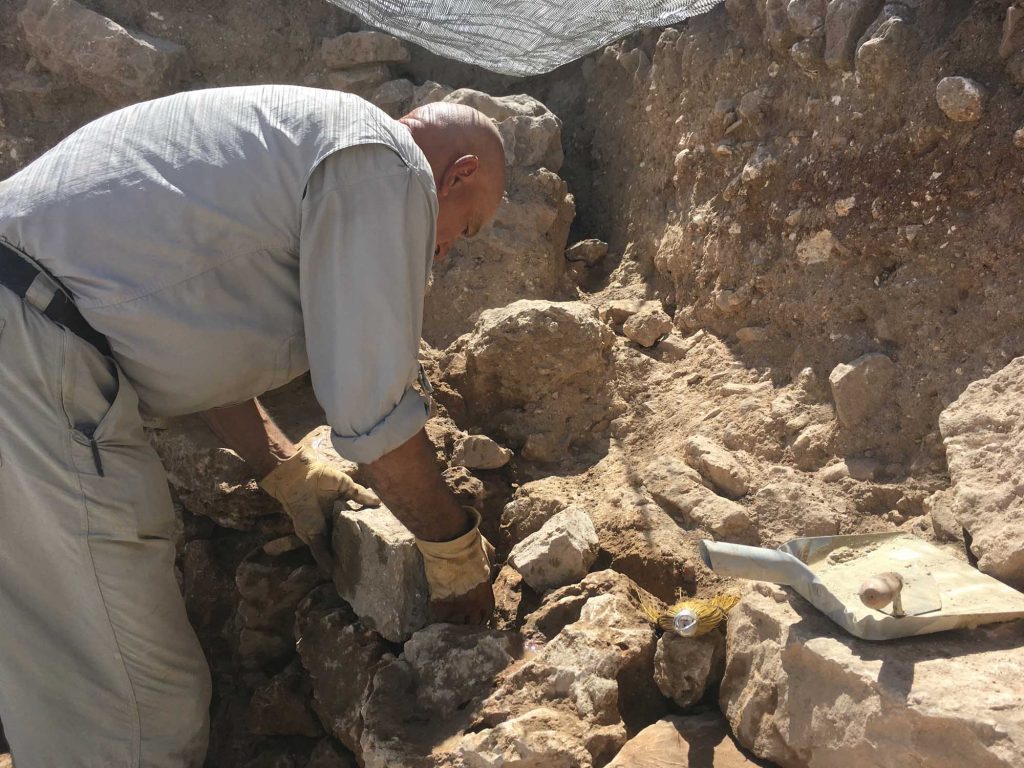
Stones that were missing or that had fallen were replaced with suitably sized stones (Fig. 8).
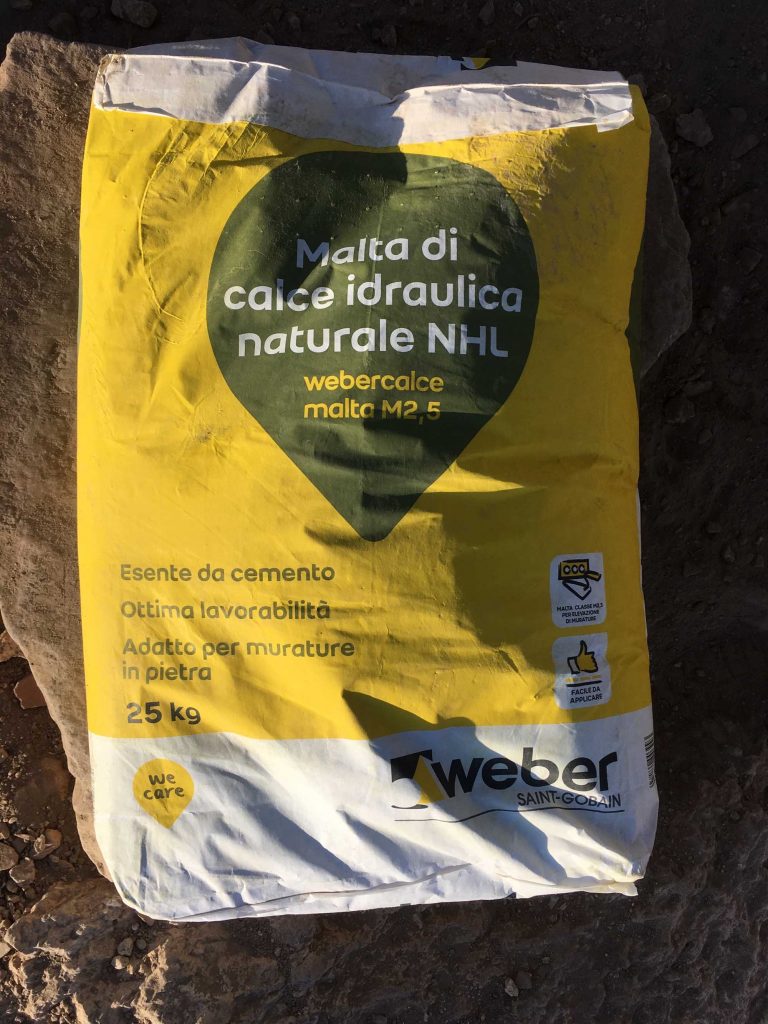
After the wall was thoroughly cleaned, the mortar mixture needed to be prepared. We used imported heat-treated NHL 5 natural hydraulic lime, Class M2.5, which is a cement-free mortar (Fig. 9).
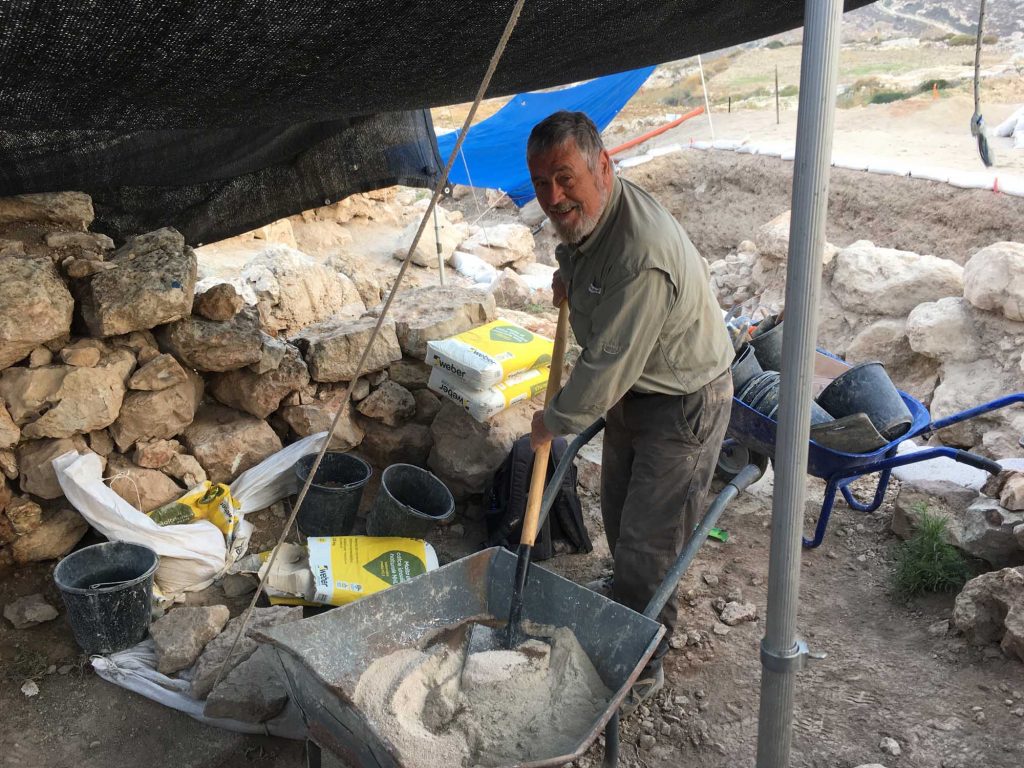
One shovel of quarry sand and half a shovel of sifted soil was added to one 25 kg bag of this mortar. The quarry sand was added to give texture to the smooth mortar and the sifted soil was added to give a more natural color to the mix. The mortar, sand and soil were thoroughly mixed with water in a wheelbarrow to a smooth consistency before application (Fig. 10).
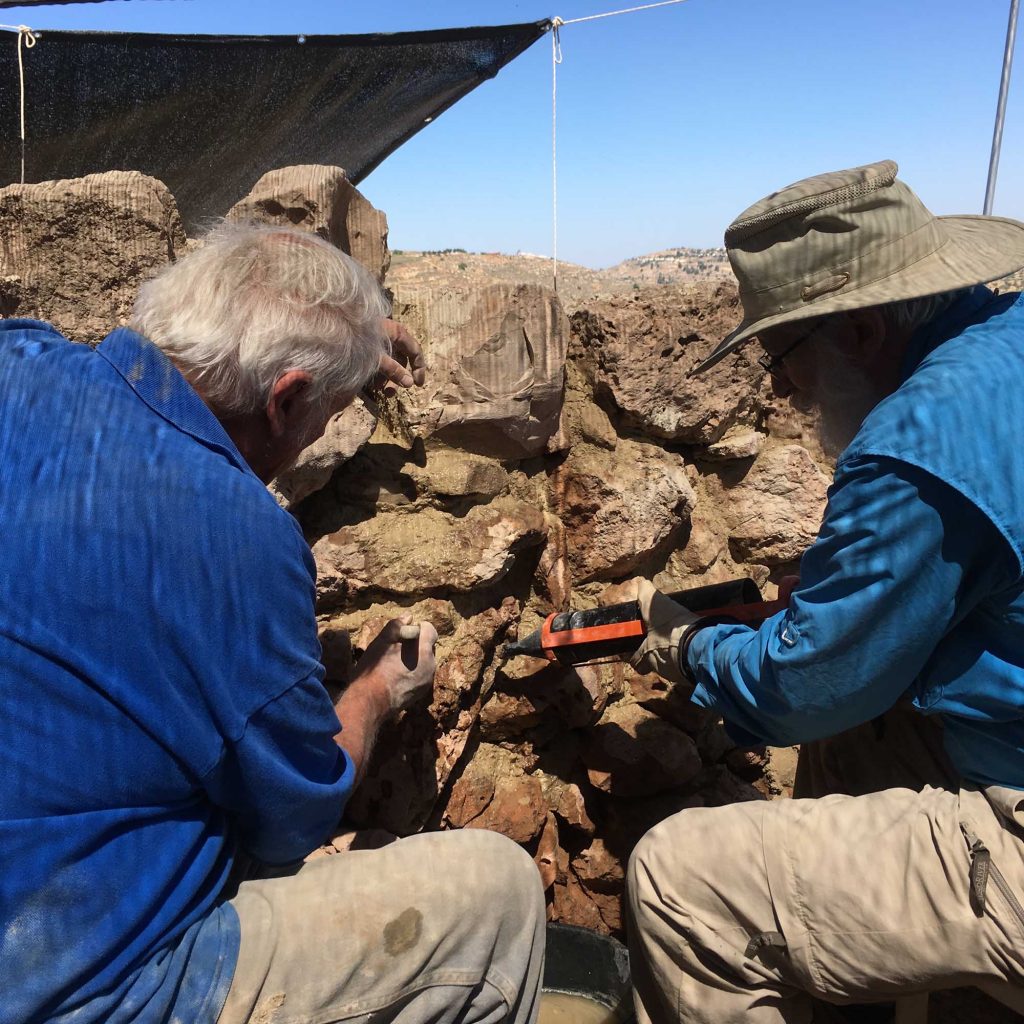
The best way of conserving ancient walls is to inject the mortar as deep as possible into the core of the wall, so that the exterior faces of the wall remain clean and retain their authentic look. Mortar is usually put on a mortarboard or tray and pushed into the joints or gaps with a pointing trowel. Adequately sized stones were placed into large gaps and secured by the mortar. We found that a mortar pointing gun was much more effective (Fig. 11).
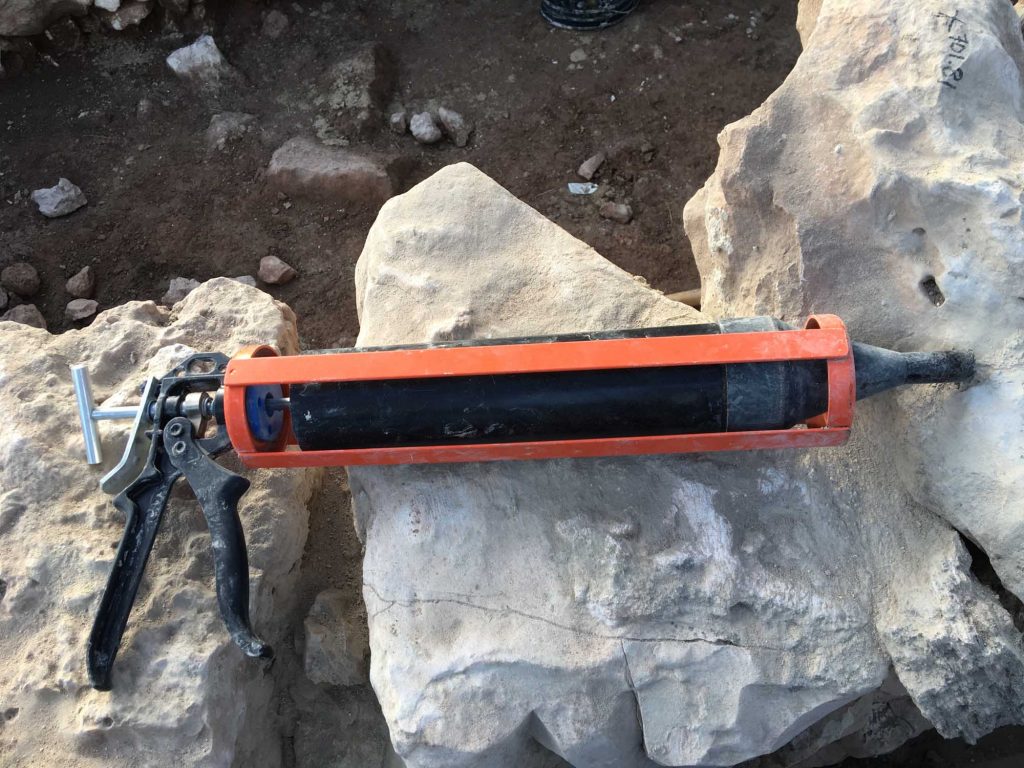
The wet mortar was inserted into the gun’s tube and then injected into the inner core of the wall (Fig. 12).
The mortar was then pushed in between and against the stones with a wet 1.5” paintbrush. The advantage of this method is that the stones of the wall are bonded together by mortar from the inside. This prevents unsightly and unnecessary smearing of mortar on the outer faces of the wall, thus preserving the authentic look of the ancient walls. The most important part of the conservation of a wall is its top, or coping (Fig. 13). When the top of the wall is conserved well, rainwater cannot penetrate the core of the wall and thus its preservation is secured.
After the mortar had set (see Figs 14-16), any remains of mortar that had flowed onto the stones was wire brushed so that the outer faces of the stones were clean and free from mortar (Fig. 17).
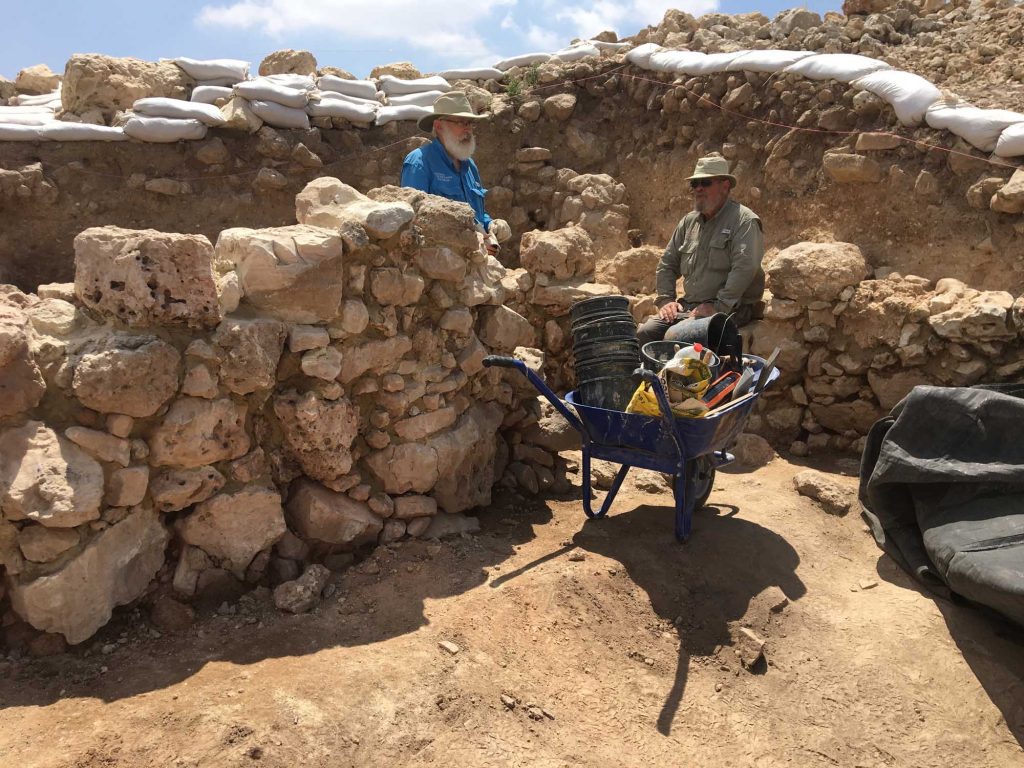
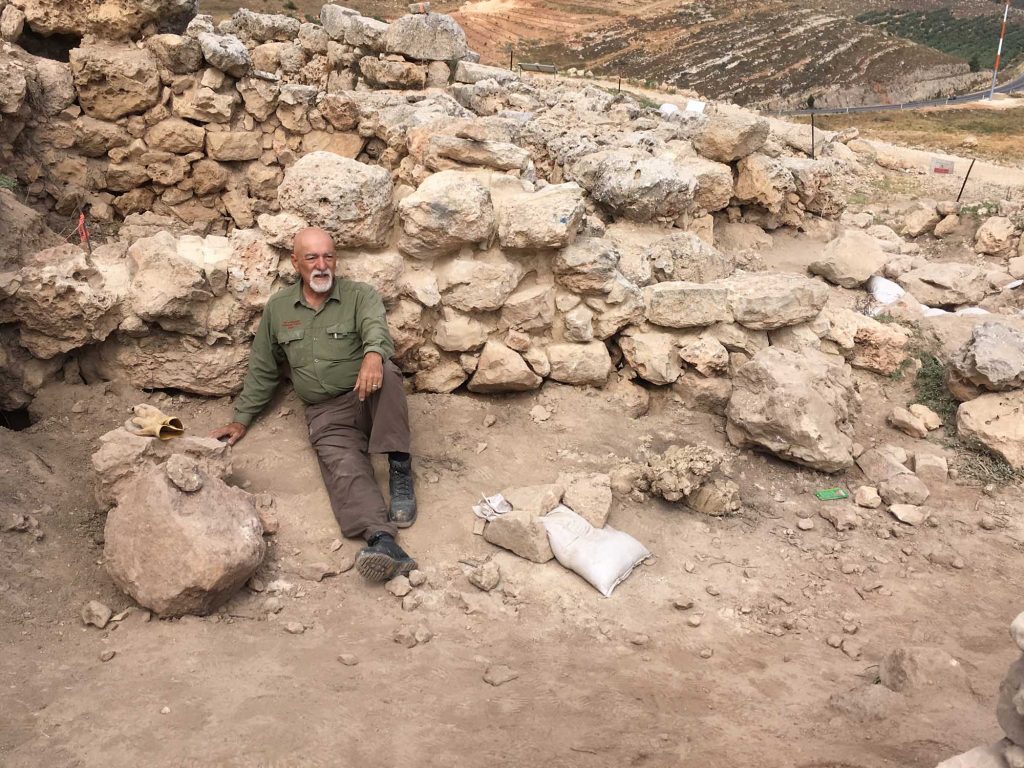
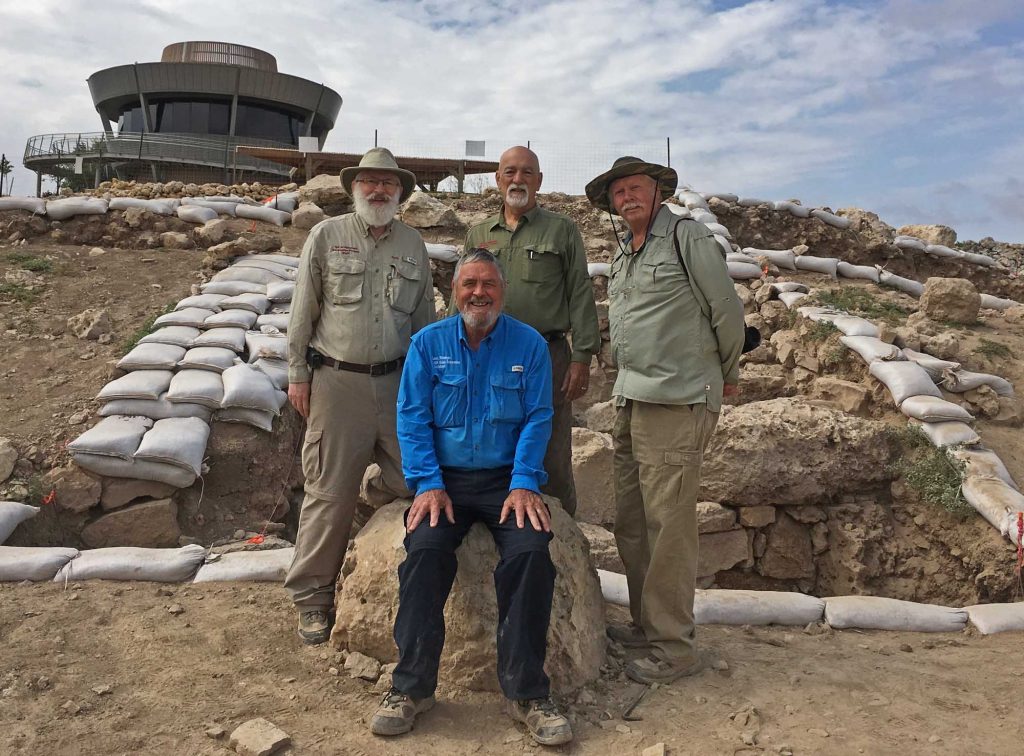
Although it is not necessary to employ skilled labor, it is important to professionally supervise the conservation work so that it is carried out according to the procedures set out above. I was pleased to have Dr. Phil Silvia, Dr. David Graves and Greg Gulbrandsen as willing helpers, who quickly learned the ropes of the trade and put their hearts and souls into the conservation project (Fig. 18).
Having conserved these storeroom walls, they are a beautiful testimony to the building techniques of the past and can now be enjoyed by the many visitors that come to Tel Shiloh.
[1] The excavations were directed by Dr. Scott Stripling on behalf of the Associates for Biblical Research.
[2] The conservation was directed and supervised by Dr. Leen Ritmeyer, MA (Conservation Studies), Institute of Advanced Architectural Studies, University of York, UK. Conservation assistants were Dr.Phil Silvia, Dr. David Graves and Greg Gulbrandsen.
Such vital, inspiring work.
Thanks Ann, your and Lou’s work is pretty important too! It is always a pleasure for Kathleen and me to meet you both once a year.
Important work you folks did there at Shiloh and thanks for the illustrated tutorial online!
Gary, it was a pleasure and thanks for all your hard work.
Why is it important to use”cement-free mortar?”
I can’t wait to see what you’ve done as I head to Shiloh this fall, Leen. Thank you!
Farber, in archaeological conservation we strive to copy traditional methods as much as possible. Traditional mortar was always lime based and never contained cement. Portland cement hardens quickly, limits the time available for application and tends to crack over time. Additionally, most cements contain large amounts of soluble salts, in particular potassium sulphate, which causes salt damage to stonework. It is therefore to be avoided as much as possible.
Wayne, hope you enjoy it when you get to Shiloh!
Was honored and privileged to have met you, finally, face-to-face and walk through the dig and share learning experiences.
Enjoyed meeting you too, Yisrael, after having been in contact over so many years.
Thank you, Leen, for this clear and informative explanation. I am studying to be a tour guide and you have given me one more fascinating aspect of Shiloh for me to share with the tourists whom I hope to guide there.
it is old tradition that eli was buried in shilo.
‘lately jews come there at the day he was killed.
his pupil samuel is buried near jerusalem, which according to tradition is shilo.
it looks like the temple from eli was in his shilo, and samuel in his temple in mitzpe.
whats your take?
i love your work and posts, keep them coming!
eli
Eli, I hope you are not talking about your tomb!! We will continue digging and one never knows what turns up next. According to Joshua 18:1, the Tabernacle stood in Shiloh, but was later removed to Nob (1 Sam. 21) and then to Gibeon (1 Kings 3:4). Solomon brought the Tabernacle to Jerusalem (2 Chronicles. 5.5) and probably stored it in the new Temple.
Hi Leen
Haven’t looked on your site for a while. Too long! Very excited that your are excavating in Shiloh. We love going there for the festival during Succot.
Do you think the site assumed to be the site of the tabernacle is incorrect? What are your reasons?
Daniel
Hi Daniel,
Shiloh is the place which has a water-tight geographical description: Judg. 21:19 Then they said, Behold, there is a feast of the LORD in “Shiloh yearly in a place which is on the north side of Bethel, on the east side of the highway that goeth up from Bethel to Shechem, and on the south of Lebonah.”
You just can’t miss it. And, of course, the Tabernacle stood there: Josh. 18:1 And the whole congregation of the children of Israel assembled together at Shiloh, and set up the tabernacle of the congregation there.
Why don’t you join us when we are digging in June?